Prerequisites (One-time Setup)
1. Development Environment Setup
1
2
3
4
5
6
7
8
9
10
11
| # 1. Install Xcode Command Line Tools
xcode-select --install
# 2. Install Rust
curl --proto '=https' --tlsv1.2 -sSf https://sh.rustup.rs | sh
# 3. Apply environment variables
source $HOME/.cargo/env
# 4. Additional setup for M1 Mac users
rustup target add aarch64-apple-darwin
|
Project Setup
1. Create Project Directory
1
2
3
4
5
6
| # Navigate to your preferred location (e.g., Desktop/CSE)
cd ~/Desktop/CSE
# Create and move into project directory
mkdir my-tauri-app
cd my-tauri-app
|
2. Initialize Node.js Project
1
2
3
4
5
6
| # Initialize npm
npm init -y
# Install Tauri CLI and API
npm install --save-dev @tauri-apps/cli
npm install @tauri-apps/api
|
3. Frontend Setup
1
2
3
4
5
6
7
8
9
10
11
12
| # Choose either React or Vue
# For React
npm create vite@latest . -- --template react
# Or for Vue
npm create vite@latest . -- --template vue
# Important: Select "Ignore files and continue" when prompted!
# Install dependencies
npm install
|
Project Structure
Your project should look like this:
1
2
3
4
5
6
7
8
9
10
11
12
| my-tauri-app/
├── node_modules/
├── src-tauri/
│ ├── capabilities/
│ ├── icons/
│ ├── src/
│ │ └── main.rs
│ ├── build.rs
│ ├── Cargo.toml
│ └── tauri.conf.json
├── package.json
└── package-lock.json
|
Configuration Files
1. package.json
1
2
3
4
5
6
7
8
9
10
11
12
| {
"name": "my-tauri-app",
"private": true,
"version": "0.1.0",
"type": "module",
"scripts": {
"dev": "vite",
"build": "vite build",
"preview": "vite preview",
"tauri": "tauri"
}
}
|
2. src-tauri/tauri.conf.json
1
2
3
4
5
6
7
8
9
10
11
12
13
14
15
16
17
18
19
20
21
22
23
24
25
| {
"identifier": "com.myapp.dev",
"productName": "my-tauri-app",
"version": "0.1.0",
"build": {
"beforeDevCommand": "npm run dev",
"beforeBuildCommand": "npm run build",
"devUrl": "http://localhost:3000/",
"frontendDist": "../dist"
},
"app": {
"security": {
"csp": null
},
"windows": [
{
"fullscreen": false,
"height": 600,
"resizable": true,
"title": "My Tauri App",
"width": 800
}
]
}
}
|
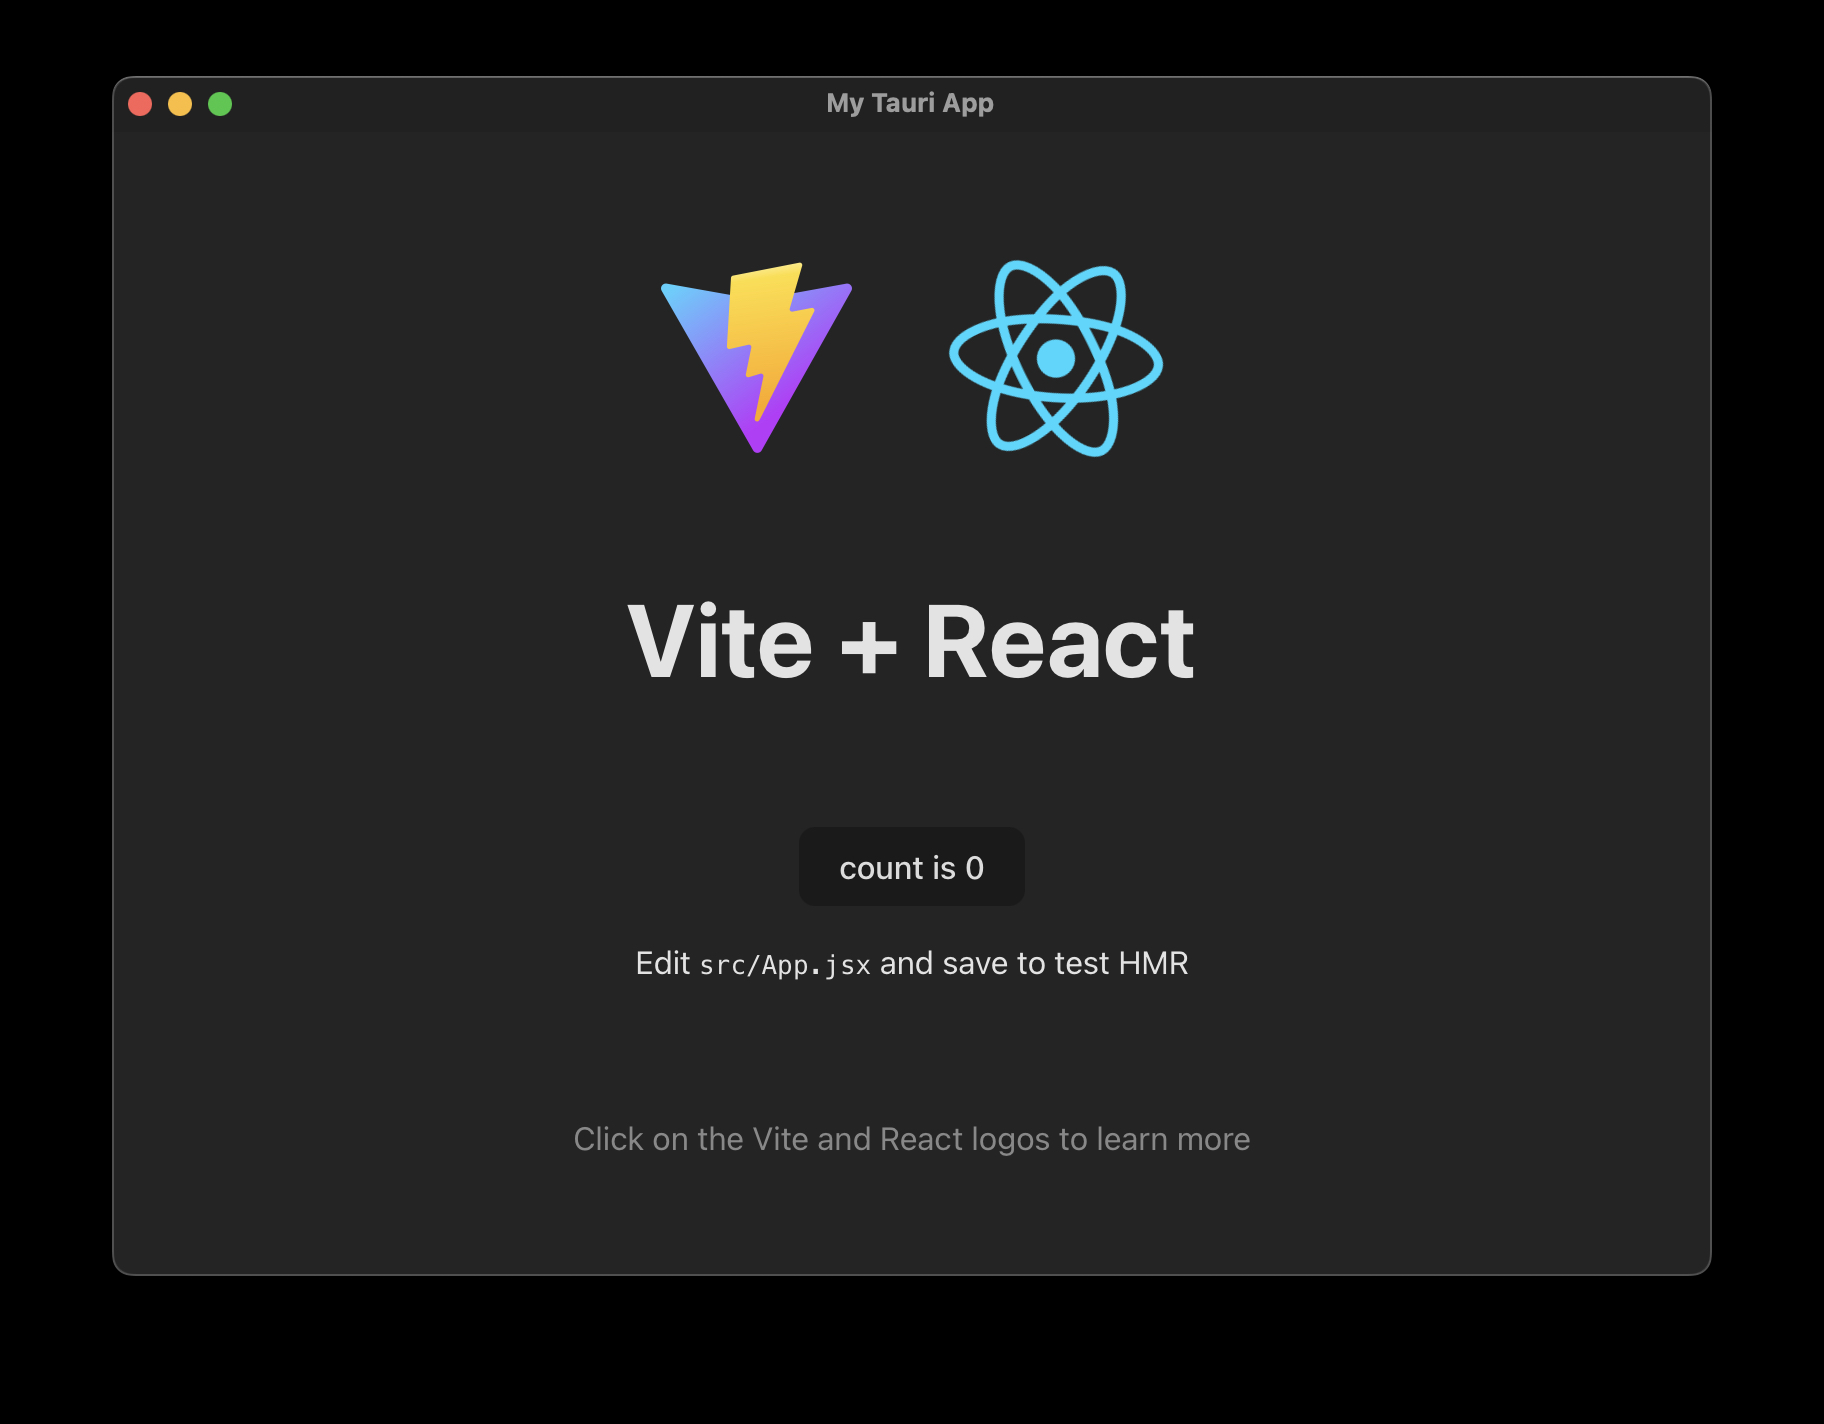
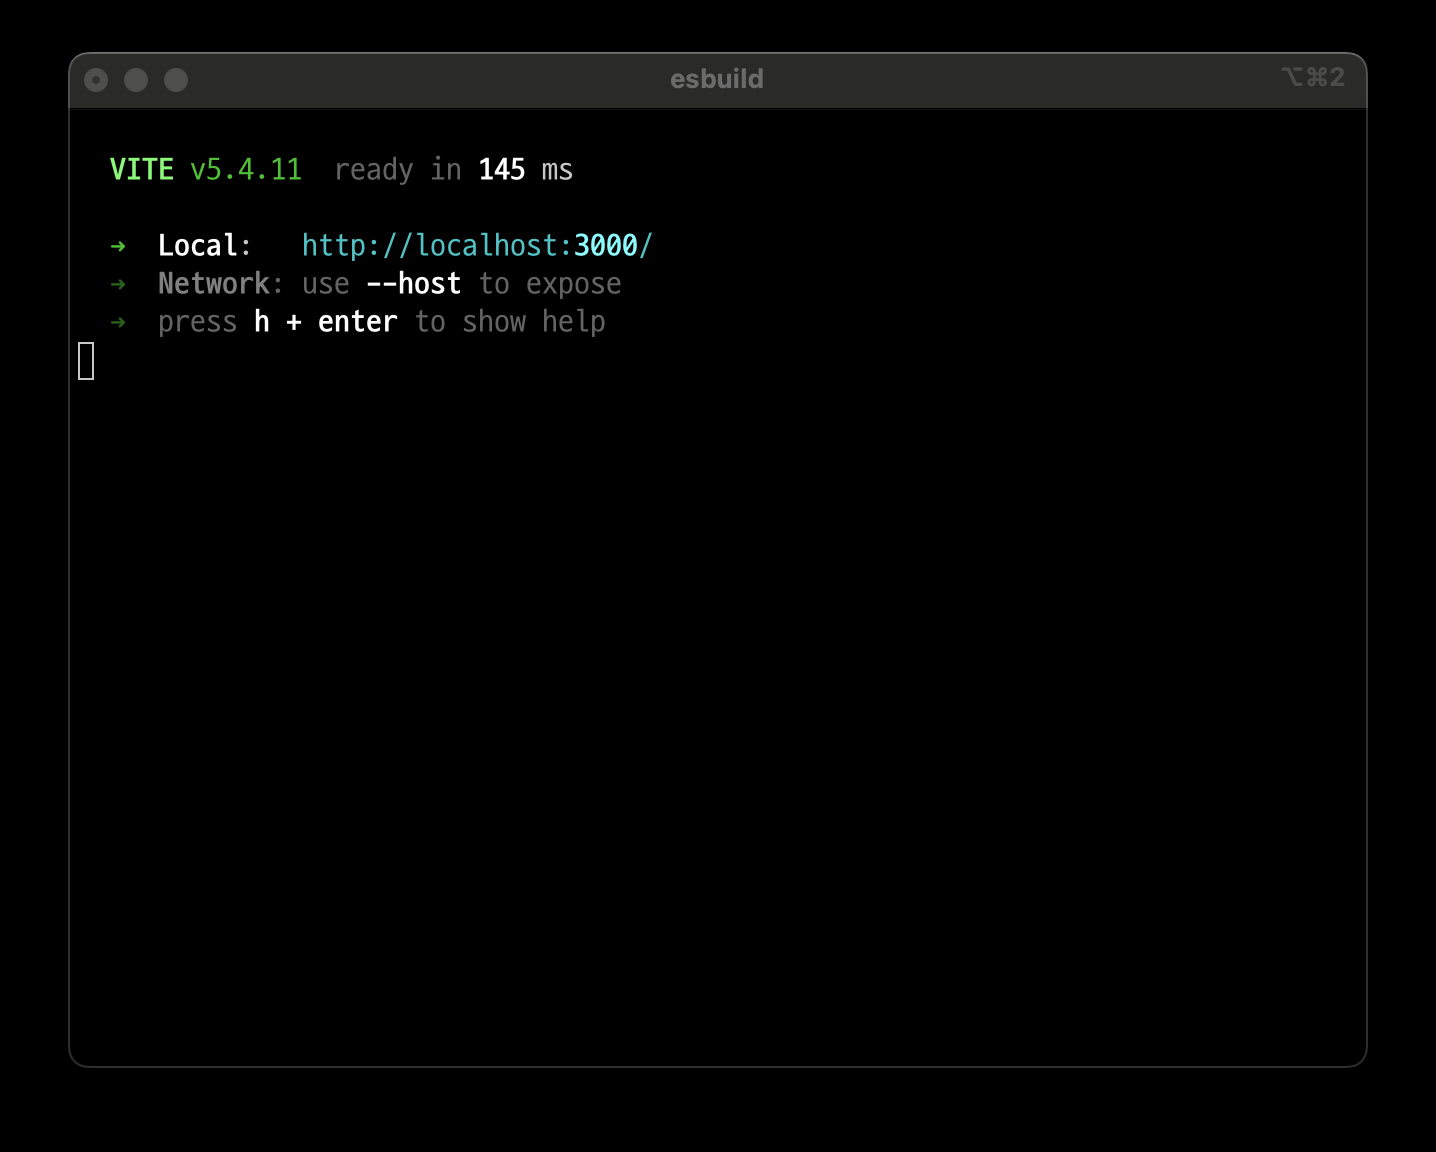
Running the Project
1. Development Mode
Open two terminal windows:
1
2
3
4
5
| # Terminal 1: Start frontend server
npm run dev
# Terminal 2: Start Tauri application
npm run tauri dev
|
Common Issues and Solutions
1. “cargo not found” Error
1
2
3
| # Reinstall Rust
curl --proto '=https' --tlsv1.2 -sSf https://sh.rustup.rs | sh
source $HOME/.cargo/env
|
2. Frontend Server Not Starting
Check if you see this message:
1
| Warn Waiting for your frontend dev server to start on http://localhost:3000/
|
Solution: Open a new terminal and run npm run dev
3. Port Conflicts
If port 3000 is in use, modify vite.config.js:
1
2
3
4
5
| export default defineConfig({
server: {
port: 3001 // Change to available port
}
})
|
Important Notes
- Directory Navigation
- All npm commands must be run from the project root (my-tauri-app)
- Cargo commands should be run from src-tauri directory
- File Locations
- Frontend code goes in src/
- Rust backend code goes in src-tauri/src/
- Configuration files stay in src-tauri/
- Development Workflow
- Always start both frontend server and Tauri app
- Changes to Rust code require restart
- Frontend changes hot-reload automatically
- M1 Mac Specific
- Don’t forget the aarch64-apple-darwin target
- Use recommended Rust version (1.70+)
Building for Production
1
2
| # From project root
npm run tauri build
|
The built application will be in src-tauri/target/release
Troubleshooting Tips
- Clean Build
1
2
3
4
| cd src-tauri
cargo clean
cd ..
npm run tauri dev
|
- Check Dependencies
1
2
3
| npm install
cd src-tauri
cargo check
|
- Verify File Permissions
1
| chmod +x src-tauri/target/release/my-tauri-app
|
Following this guide step by step will help you set up a Tauri project successfully. Remember to check the terminal output for any errors and refer to the troubleshooting section if needed.